Data(base)d Design: Business Cards
Lately I’ve been thinking a lot about marketing and product development. There’s a number of projects I’ve been working on, that will eventually get proper updates. Regardless, I’ve been exploring what it takes and means to build “authentically”. By “authentic” I mean something that involves you; the skin in the game, the something that makes you a personality. I think there’s something alluring about allowing market and consumer forces to give you feedback on something that you’ve investing in building, creating, and designing. I’ve read the Mom Test and let’s just say if I want an honest opinion I’ll ask my family. Deciphering the half-truths people will tell you as a stranger is the real challenge in my opinion. For example, “Do I actually take their feedback?”, “Did they even understand my idea or point?”, “What did I learn to incorporate into the next iteration?” Yeah, my business cards have taken on 3 dimensions.
The real point is to show the design process and how I go about creating.
The Process
We’ll walk through the ideation phase, to development, to the it’s good enough conclusion.
The Idea
I’ve seen a number of very cool business cards over the years. For example, some that run Linux. And who can forget the business card exchange in American Psycho. So I had been in the back of my mind thinking about how cool it would be to create a unique business card for Graphical Methods. I had gone through a number of ideas since getting a 3d printer. Things that people could build, maybe a network graph that represents something interesting, something functional like a pen holder, or a toy of some kind. Each idea seemed to take a fair amount of time, investment, and plastic. One of my biggest gripes with 3d printing is the veiled attempts to greenwash it by claiming PLA is somehow biodegradable; in whose lifetime? The plastic waste, even if it was cool, makes me cringe. Business cards are inevitably waste. With that we have our first requirements! It must be a personal expression, it must be reasonably sustainable, and balance the amount of time invested to the expected outcome (the trash bin or drawer).
Initial requirements:
- Personal expression
- Sustainable
- Time balanced
Inspiration
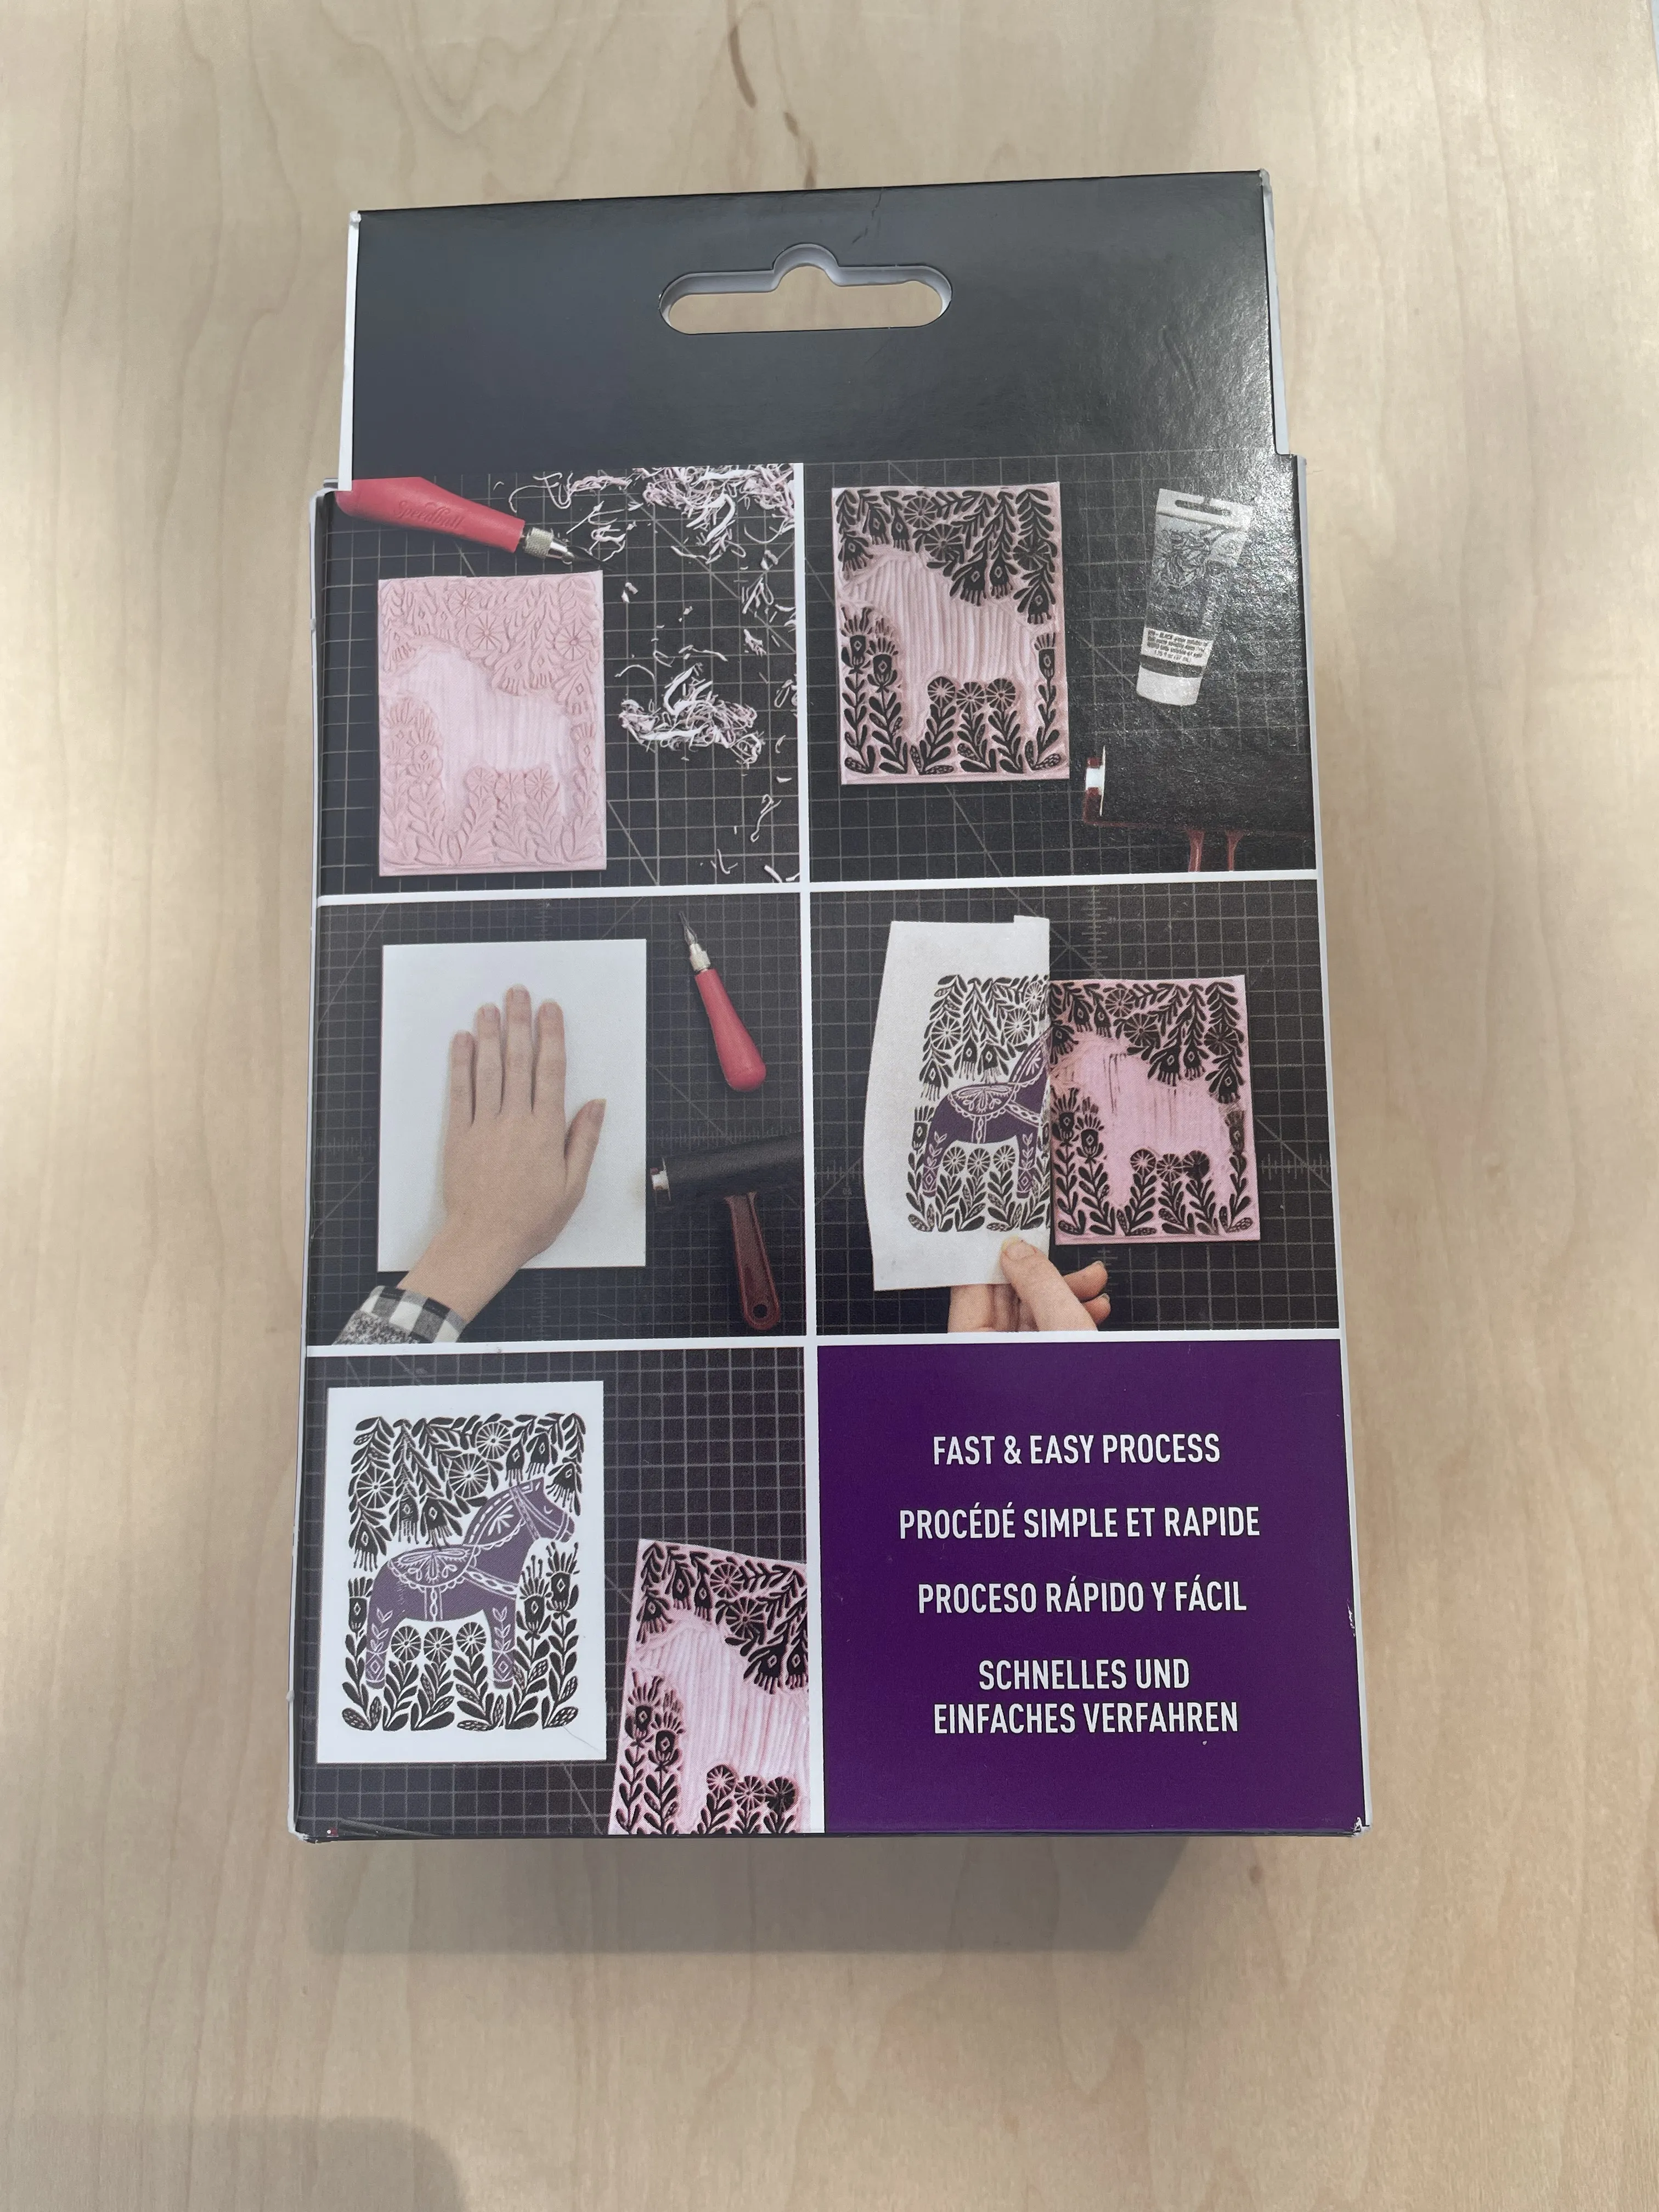
A pizza box! No, seriously. One day I was looking at a pizza box from the local place and noticed their logo was stamped on the box. Inspiration struck! I found something that maybe satisfied my requirements. I could create the stamp myself; check personal expression, I could use cardboard from seltzer boxes; check sustainable, and it should be pretty quick to CAD and make cards; check time balanced.
Incremental Progress
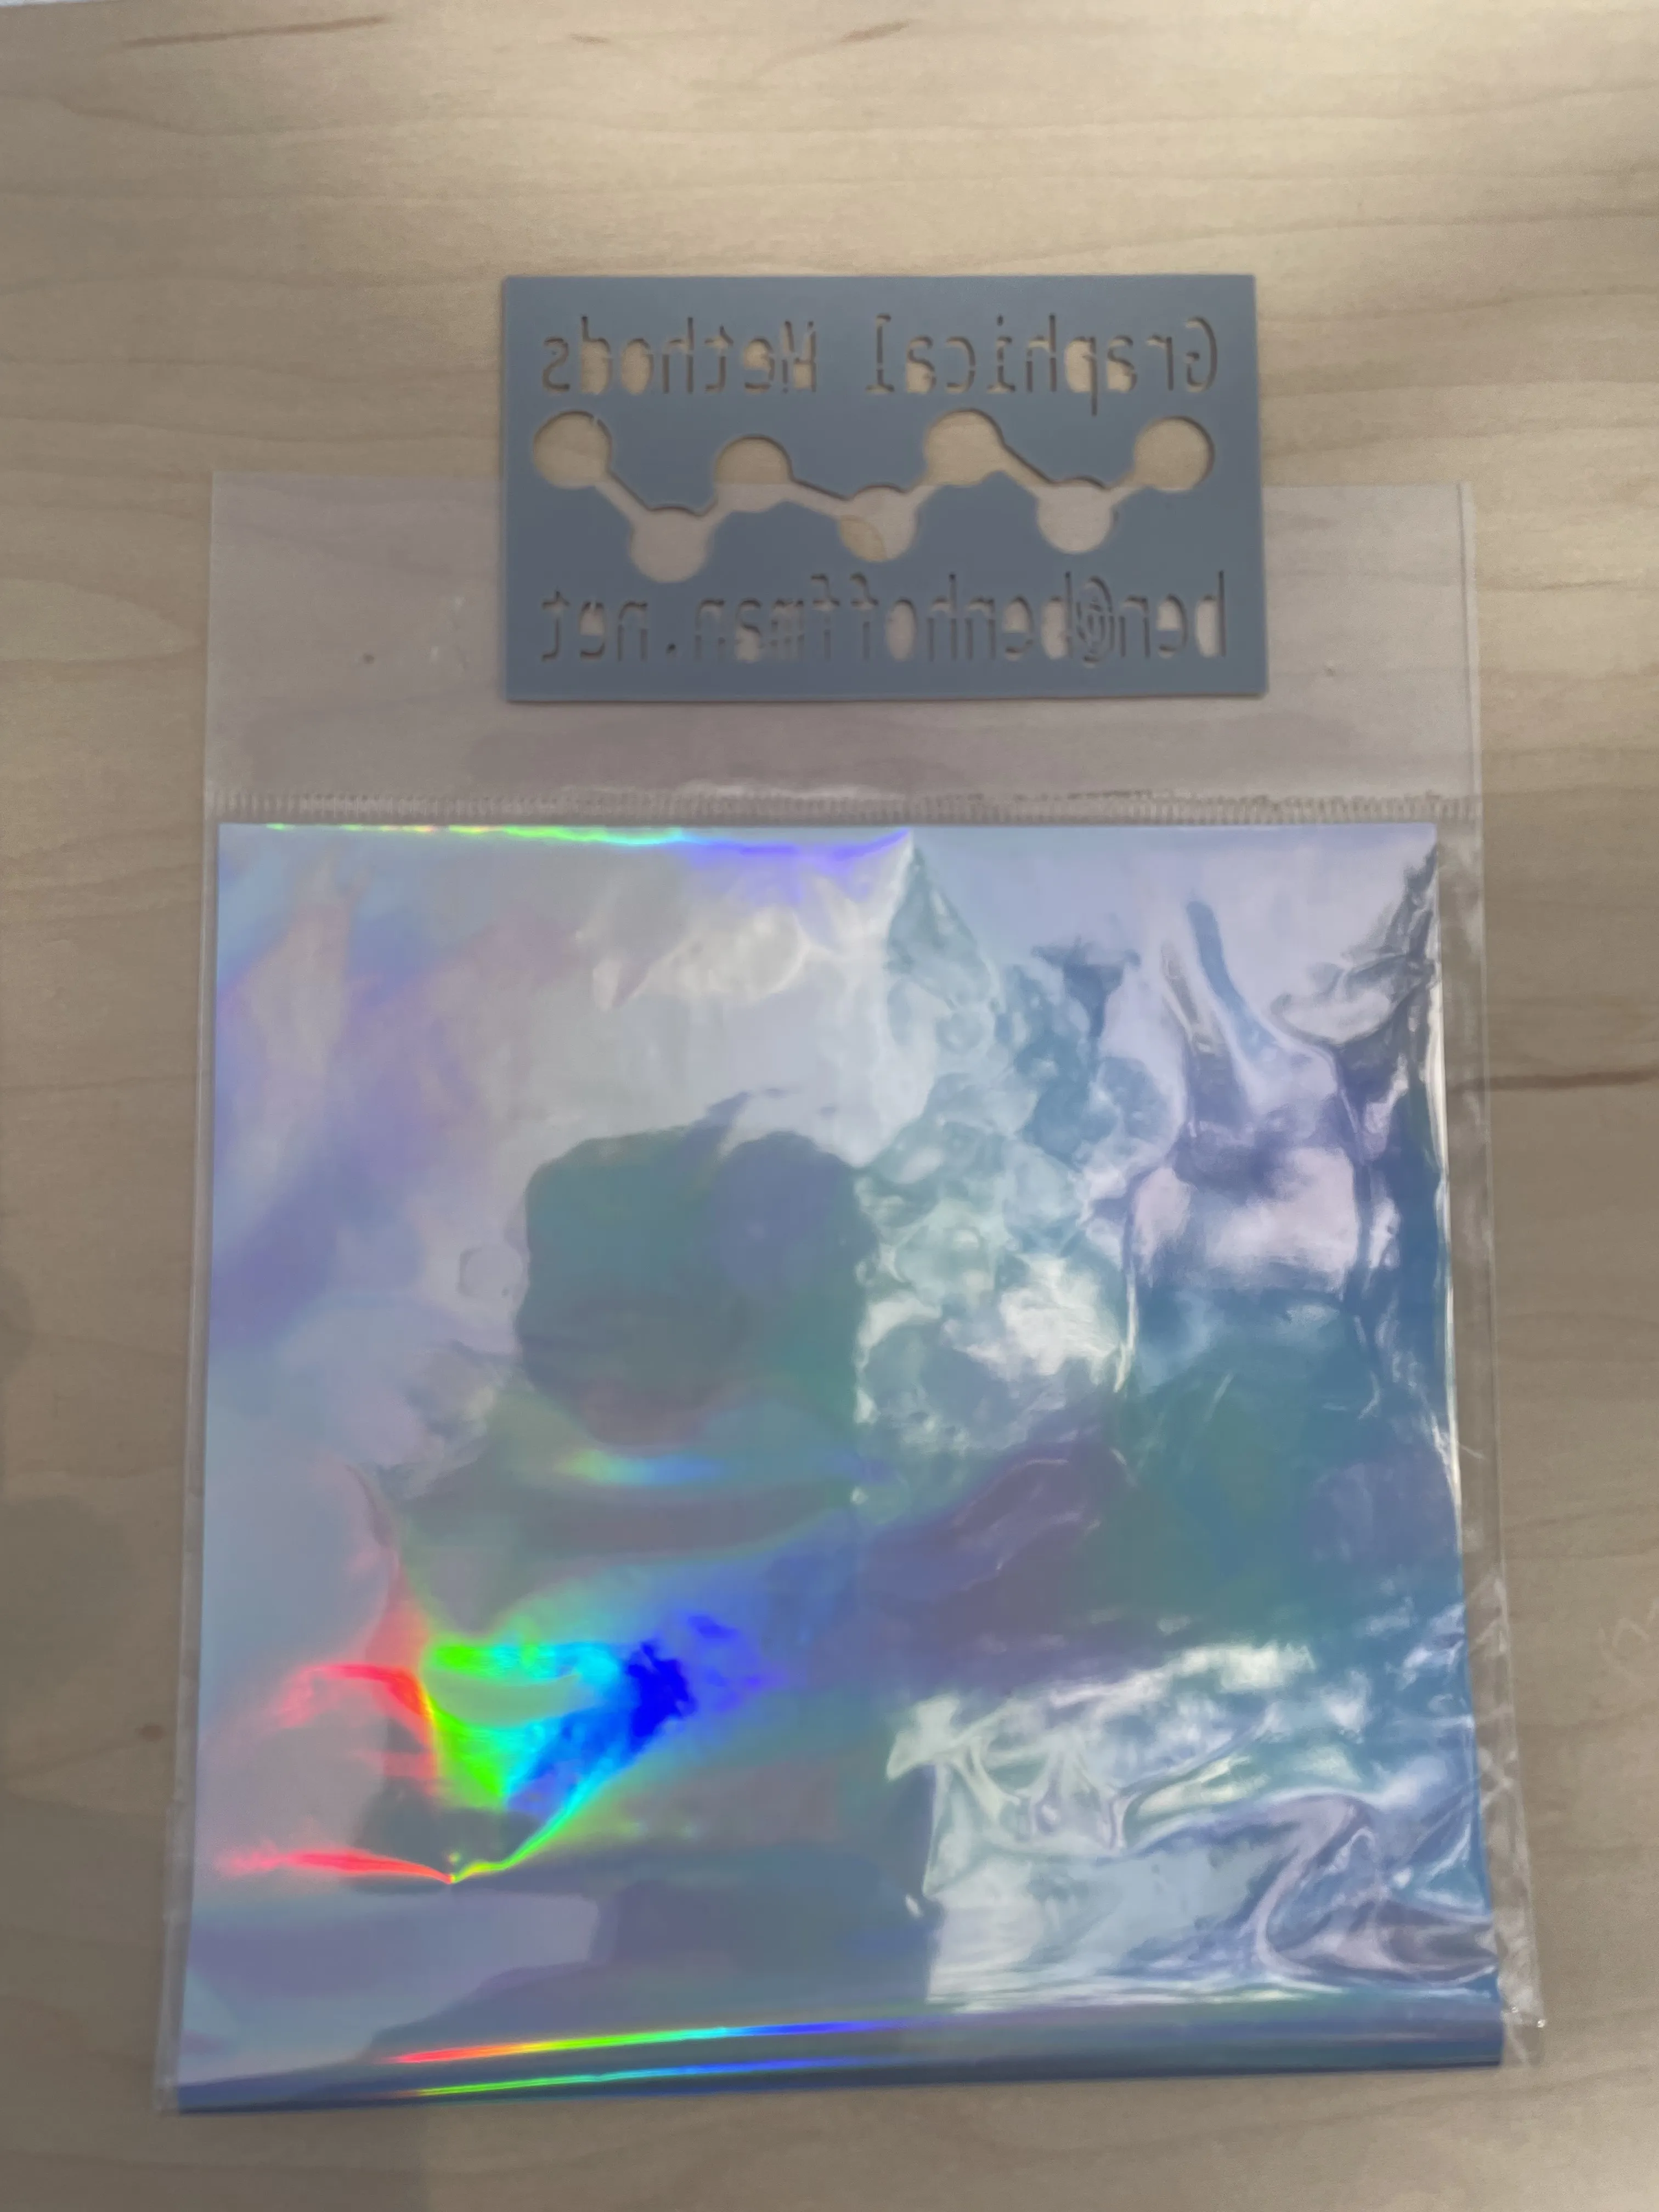
So I use the word stamp above. Yeah, that word comes later. Originally, I created a stencil…? In my head 3d printed parts are plastic, plastic isn’t the most porous material and shouldn’t hold ink. So off to the hobby stores to see what I could find. I ended up finding this really cool metallic film and had the idea that I could rub a glue stick over the top of a stencil and then somehow layer on the film. It was an idea, that’s for sure. After printing the stencil it was very apparent that was never going to work. The few millimeters of depth from the stencil meant mountains of glue.
You’re trying to make a stamp, you fool! With the conclusion of the stencil idea I moved on to stamp making.
At first I bought the rubbery stuff to make a stamp. Then very quickly realized that I wasn’t going to be able to get the fine text I wanted. You have to carve the details. So I ended up googling around for things like, “3d printing stamp”, etc. Fortunately, a few people have come before me and there’s helpful advice out there about printing text in particular.
After inverting my stencil into a stamp, I finally print my first stamp. And it worked! I read some advice to try sanding the plastic to get a more uniform surface, so there were a few incremental stampings, but in the end I had a business card. It was barely readable and my family confirmed as much. But, I had something to start with.
I spent the next few weeks handing a few out and feeling compelled to explain the backstory of why I was handing someone a barely legible business card on the back of a seltzer box. After a few of those incidents it was time to make some adjustments.
Along the way I summarized what I had learned:
- I need to make a stamp.
- Stencils don’t scale.
- Getting the fine details from a piece of rubber was likely impossible.
- People like the idea of getting something unique and personable.
- Even better if they can read it.
- Plastics can kind of hold ink.
- Seltzer boxes come in a variety of different kinds of cardboard.
- Maybe it’s the glue involved? Not sure.
- My 3d printing skills are amateur at best and there’s probably a better way to do this.
Taking what I had learned, I came up with hypotheses on how to improve and maybe overcome my amateur 3d printing skills:
- The stamp was unclear because it needed finer detail for the parts coming into contact with the cardboard.
- Rotating the print will speed up print time and font details.
- Both plastic and cardboard are hard materials and need to be softened.
- I need to hold the ink better on the stamp.
- I needed to sand it more and therefore the letters should be solid plastic.
So looking around at some of the things I had printed before, it looked like I could get finer detail by rotating the stamp so the text is printed vertically. We’ve identified a way to test a few of our hypotheses. Which ones can we check off?
- The stamp was unclear because it needed finer detail for the parts coming into contact with the cardboard.
- Rotating the print will speed up print time and font details.
- Both plastic and cardboard are hard materials and need to be softened.
- I need to hold the ink better on the stamp.
- I needed to sand it more and have the letters be solid plastic.
That was good enough for me to get started on another attempt. As a rotated it, suddenly the time to print went up, ugh. I trimmed the depth of the stamp and we were back to something reasonable! Something I forgot to mention previously is how annoying it was watching the first print take forever printing what amounted to a block of plastic for 90% of the print.
A few hours later and a little bit of sanding I had something possibly worse than my first attempt. Turns out the letters printed vertically were too smooth to hold any ink! A few attempts at sanding, using a fine sand paper, and some frustration that my first attempt was somehow better, I had at least realized my problem was the smooth plastic not holding ink. So I give up and start to sand it on concrete. I figure it’ll help even out the lettering faces and give it a rough texture to hold ink. We’ll neatly skip over the prior part where I come to the conclusion covering the stamp in vaseline will fix the ink issues. In the moment I thought it would give it a better surface for the ink to adhere to. Reality is, I had a gross stamp I had to clean now.
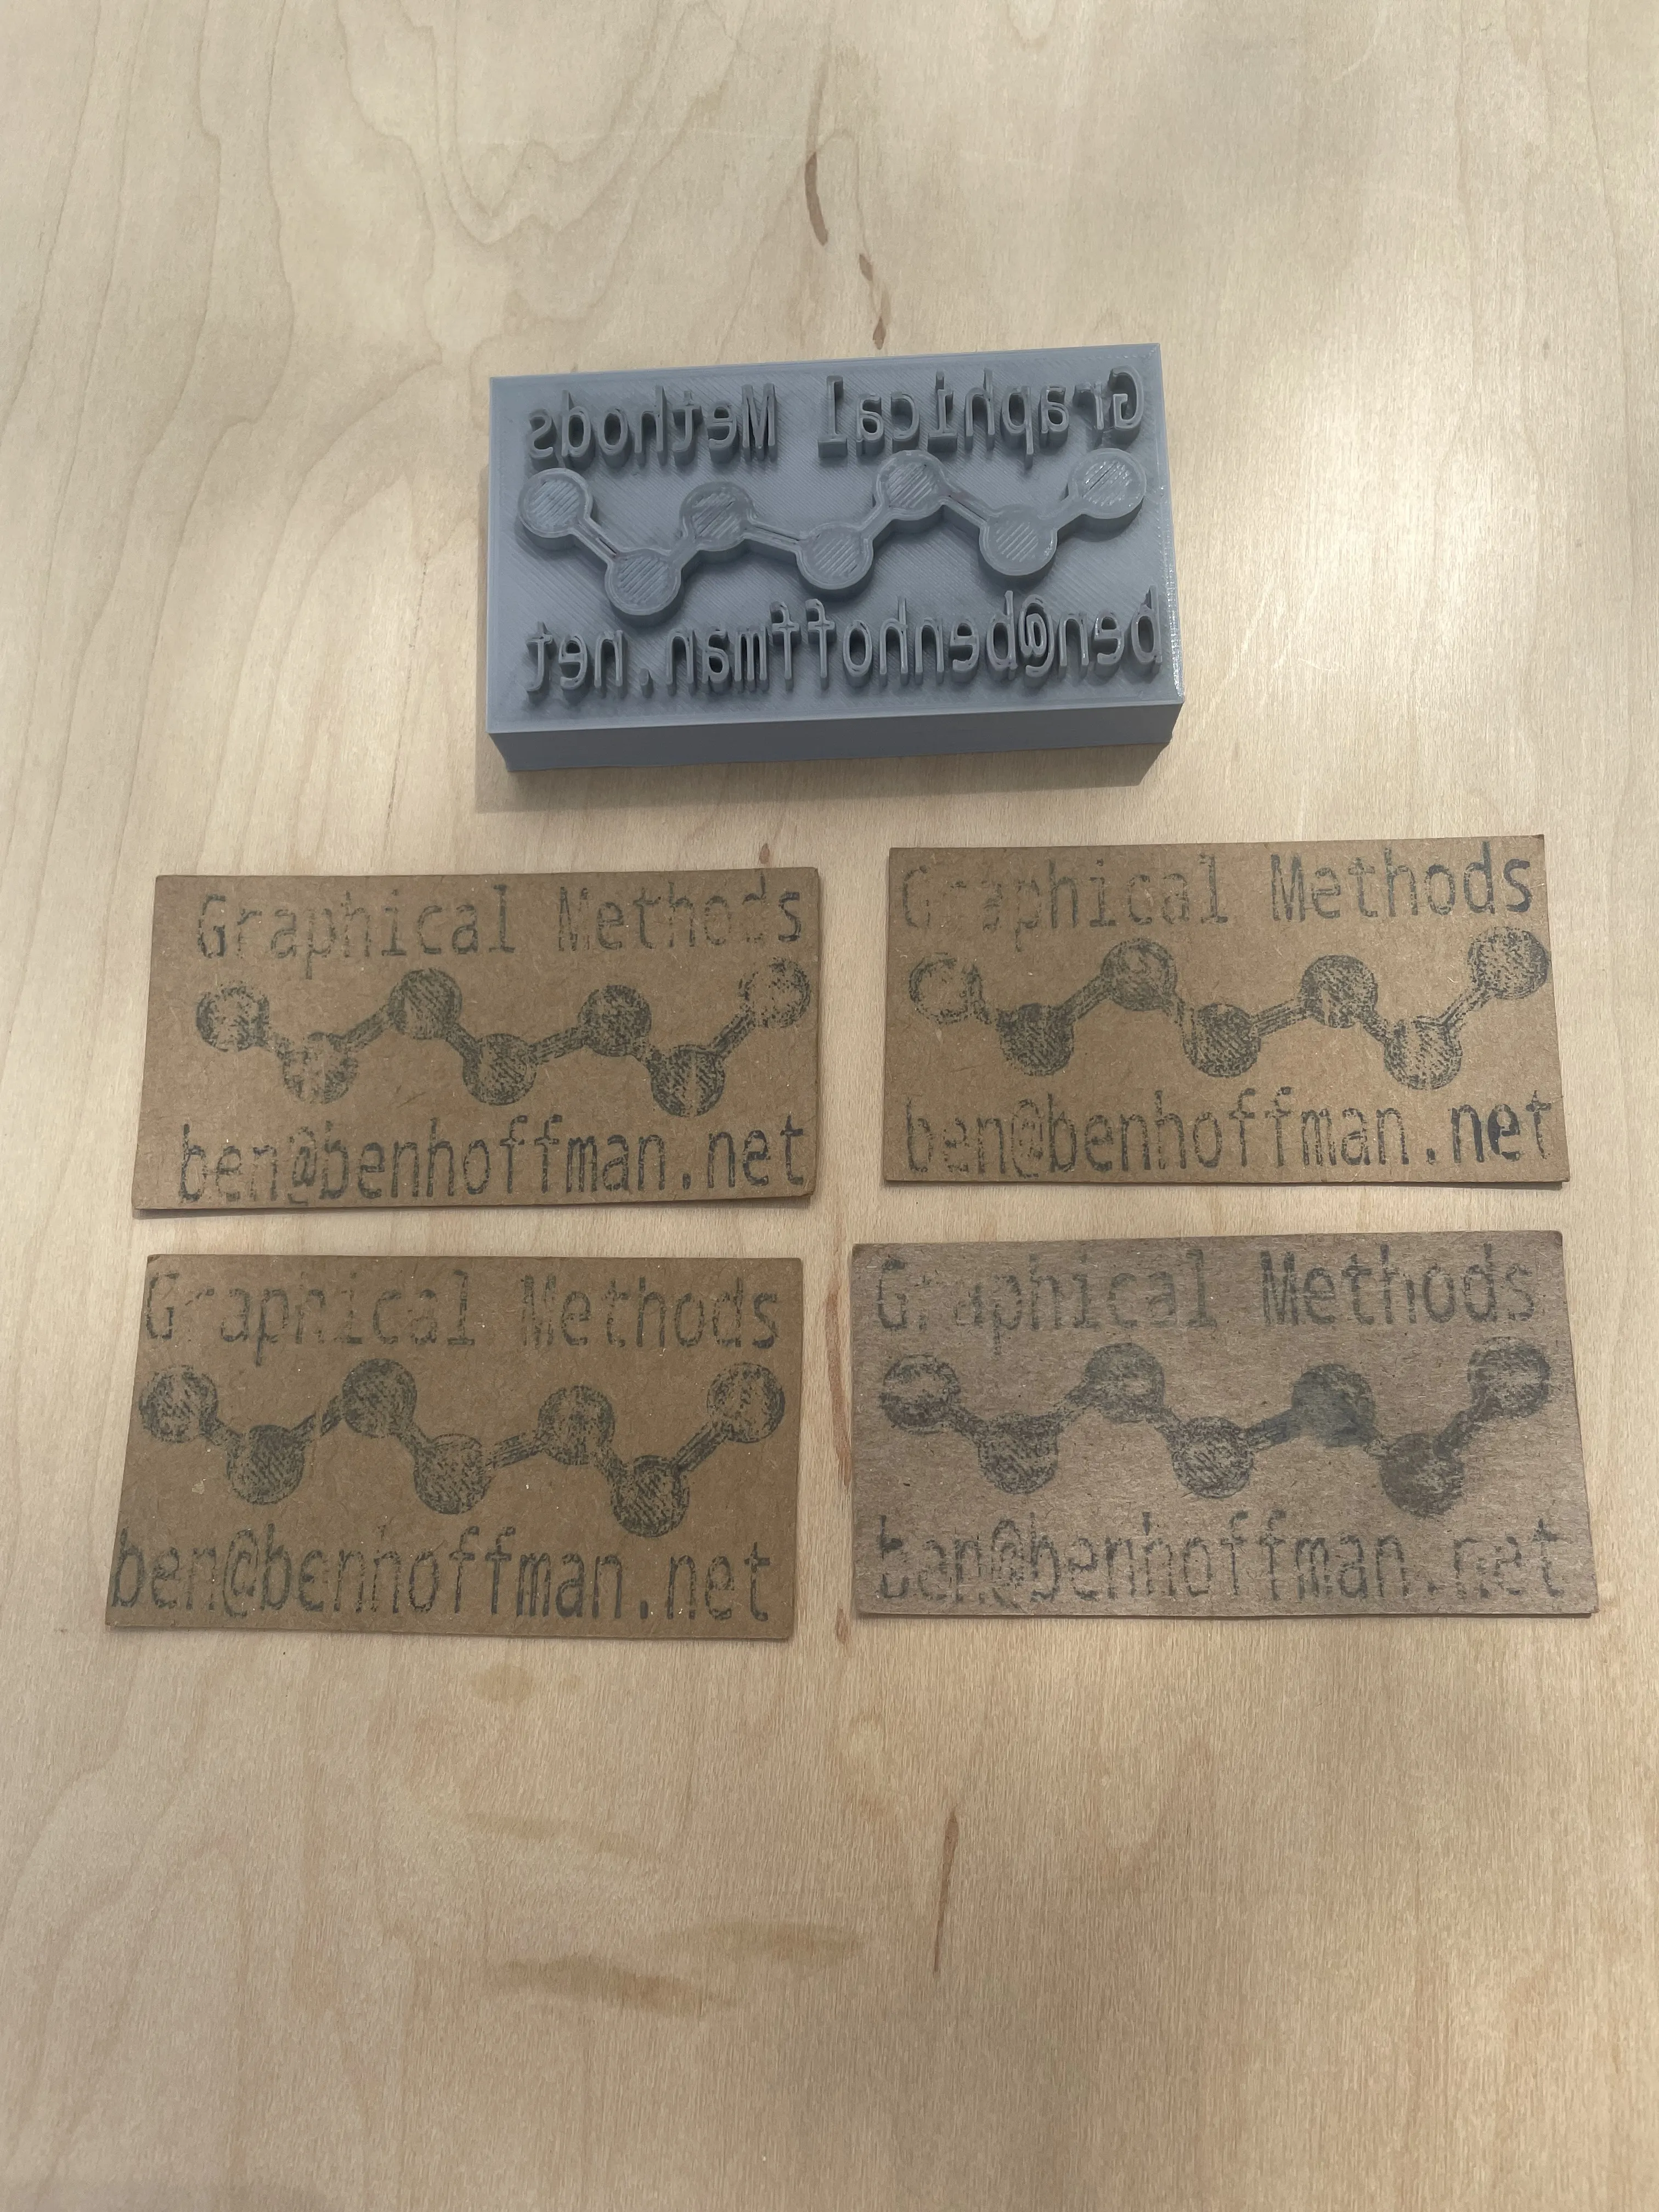
Going from bottom to top you can see the incremental progress as I sand and refine.
At this point we’ve checked off a number of our hypotheses:
- The stamp was unclear because it needed finer detail for the parts coming into contact with the cardboard.
- Rotating the print will speed up print time and for details.
- Both plastic and cardboard are hard materials and need to be softened.
- I need to hold the ink better on the stamp.
- I needed to sand it more and have the letters be solid plastic.
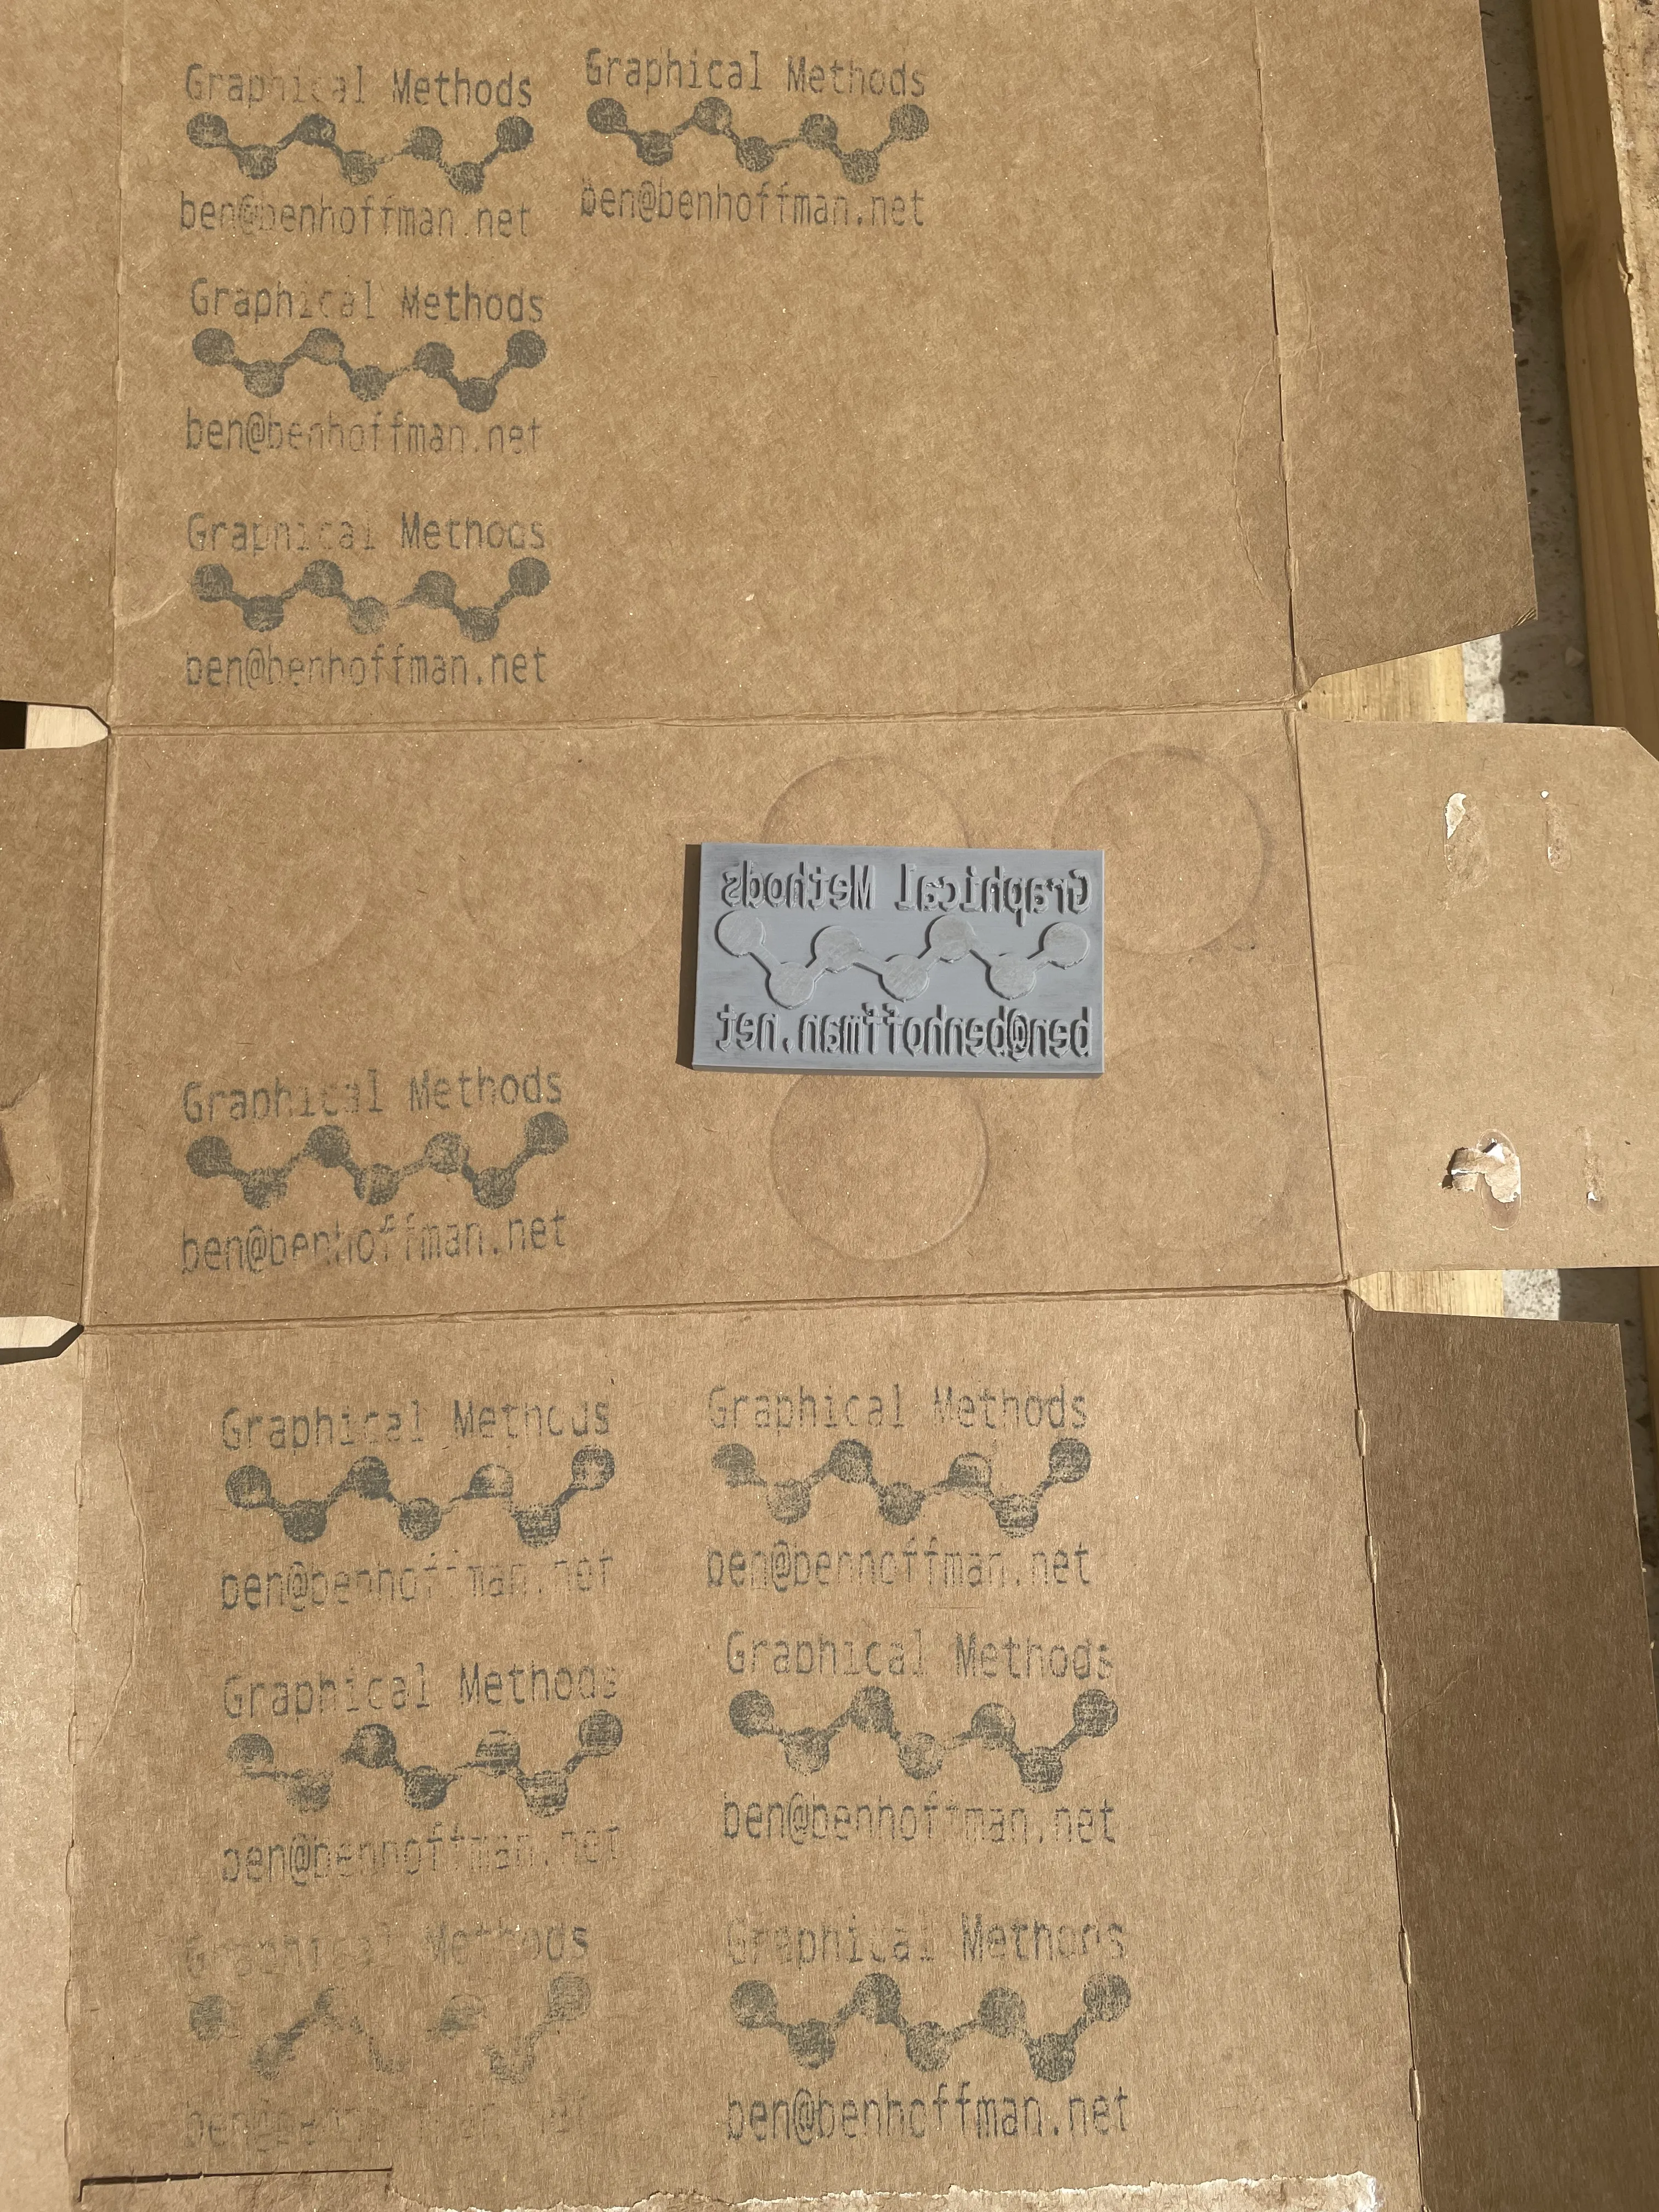
The remaining hypothesis involves nothing more than the local paper behind the cardboard to let it flex a little around the hard plastic stamp.
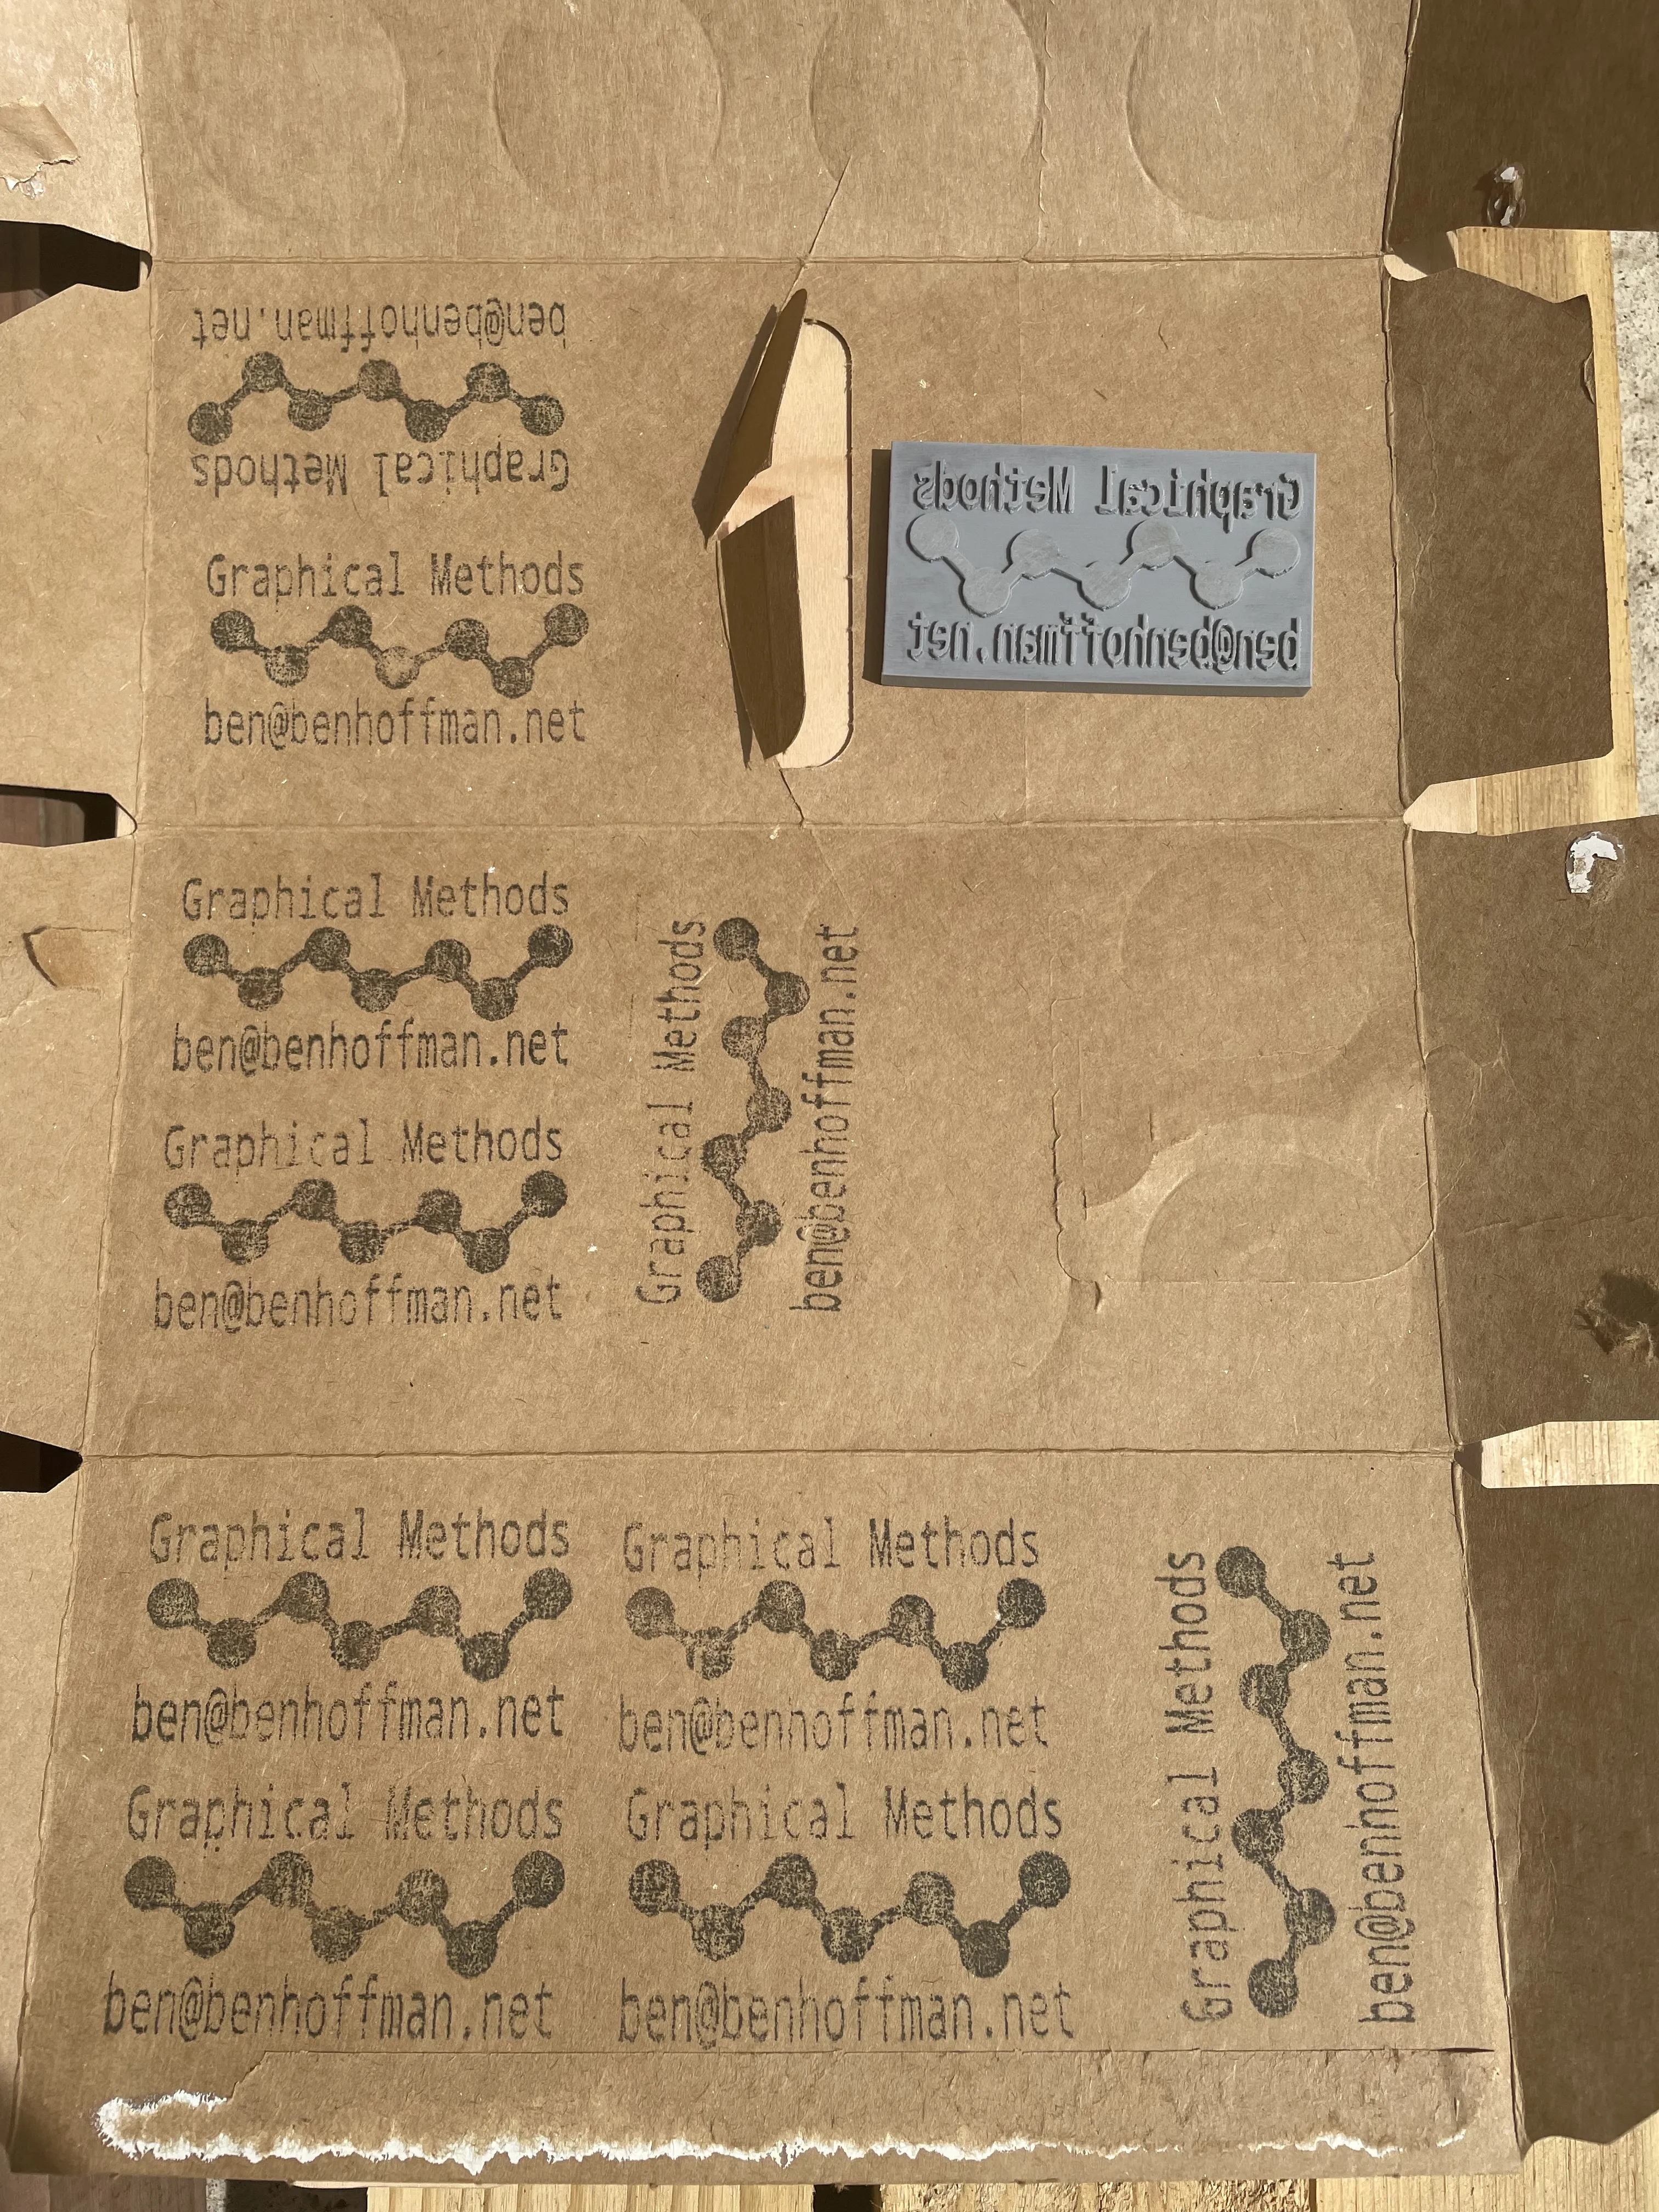
As you can see things are much more legible and in a state we can call good enough!
This was long and hopefully informative. For me it’s always been impactful to see how the sausage is made. So many improvements have come from an honest glimpse into how things really are.
Resources:
- Linux business cards
- American Psycho
- Pizza